Uploading from Excel
- Select the grid from the TreeView Navigator section to load the template into the Data Grid Section. Switch Config Mode to OFF.
- Click Browse, and locate the file on the user’s computer. Once found, click Load into Grid.
- The Excel file will load into the grid if the same number of columns in the Excel file match the number of columns in the grid template selected. If they do not match the grid will not be loaded with any data from the Excel file and a message will be displayed.
- The file and grid selected should be checked to ensure they have matching columns. Or a new template should be downloaded and completed as outlined in the steps above.
- Select a file that matches the grid template selected and click Load into Grid.

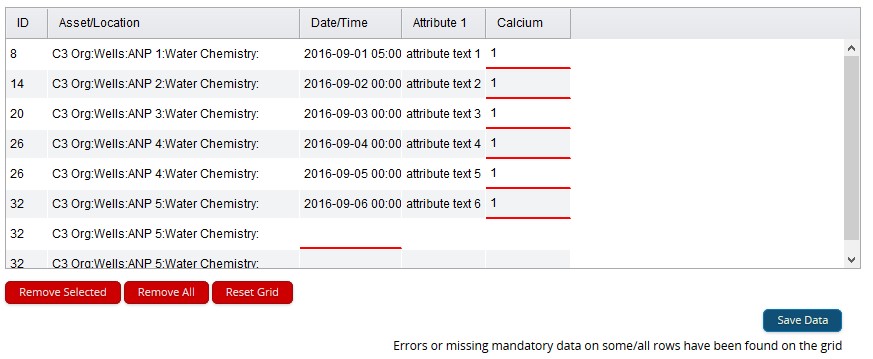
Hovering over a cell that has not passed validation will let you know what rules have been set and what range the values should be in if required.

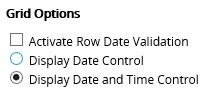
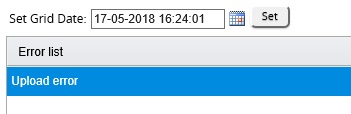
Depending upon the Grid Options configuration, a date may or may not be mandatory, and may or may not include the time. If a date is mandatory, then it will be highlighted in red underline, and must be populated in each cell (within the Date/Time column) before the grid can be saved. The cells can be populated individually by manually entering a date/time into each cell, or all Date/Time cells can be populated together, by setting a date/time in the Set Grid Date field and clicking the set button.

If the date is not mandatory, and not populated in the cells then it is saved as the current date/time.
Data will only be saved when all validation for a grid has passed.
Rows can be removed if they are not required for data upload. This will not delete them from the template.
You can either revisit the Excel spreadsheet, amend the values and re-upload the file into the grid or manually amend them as described in the next section Manual Data Entry.